Giuseppe’s Tropical Torta Mimosa With Pineapple

Last Updated on 23rd February 2022 by Mimi
In Italy, the flowers of the mimosa tree are traditionally given to women as a present on International Women’s Day (8th March), when the tree is in full bloom.
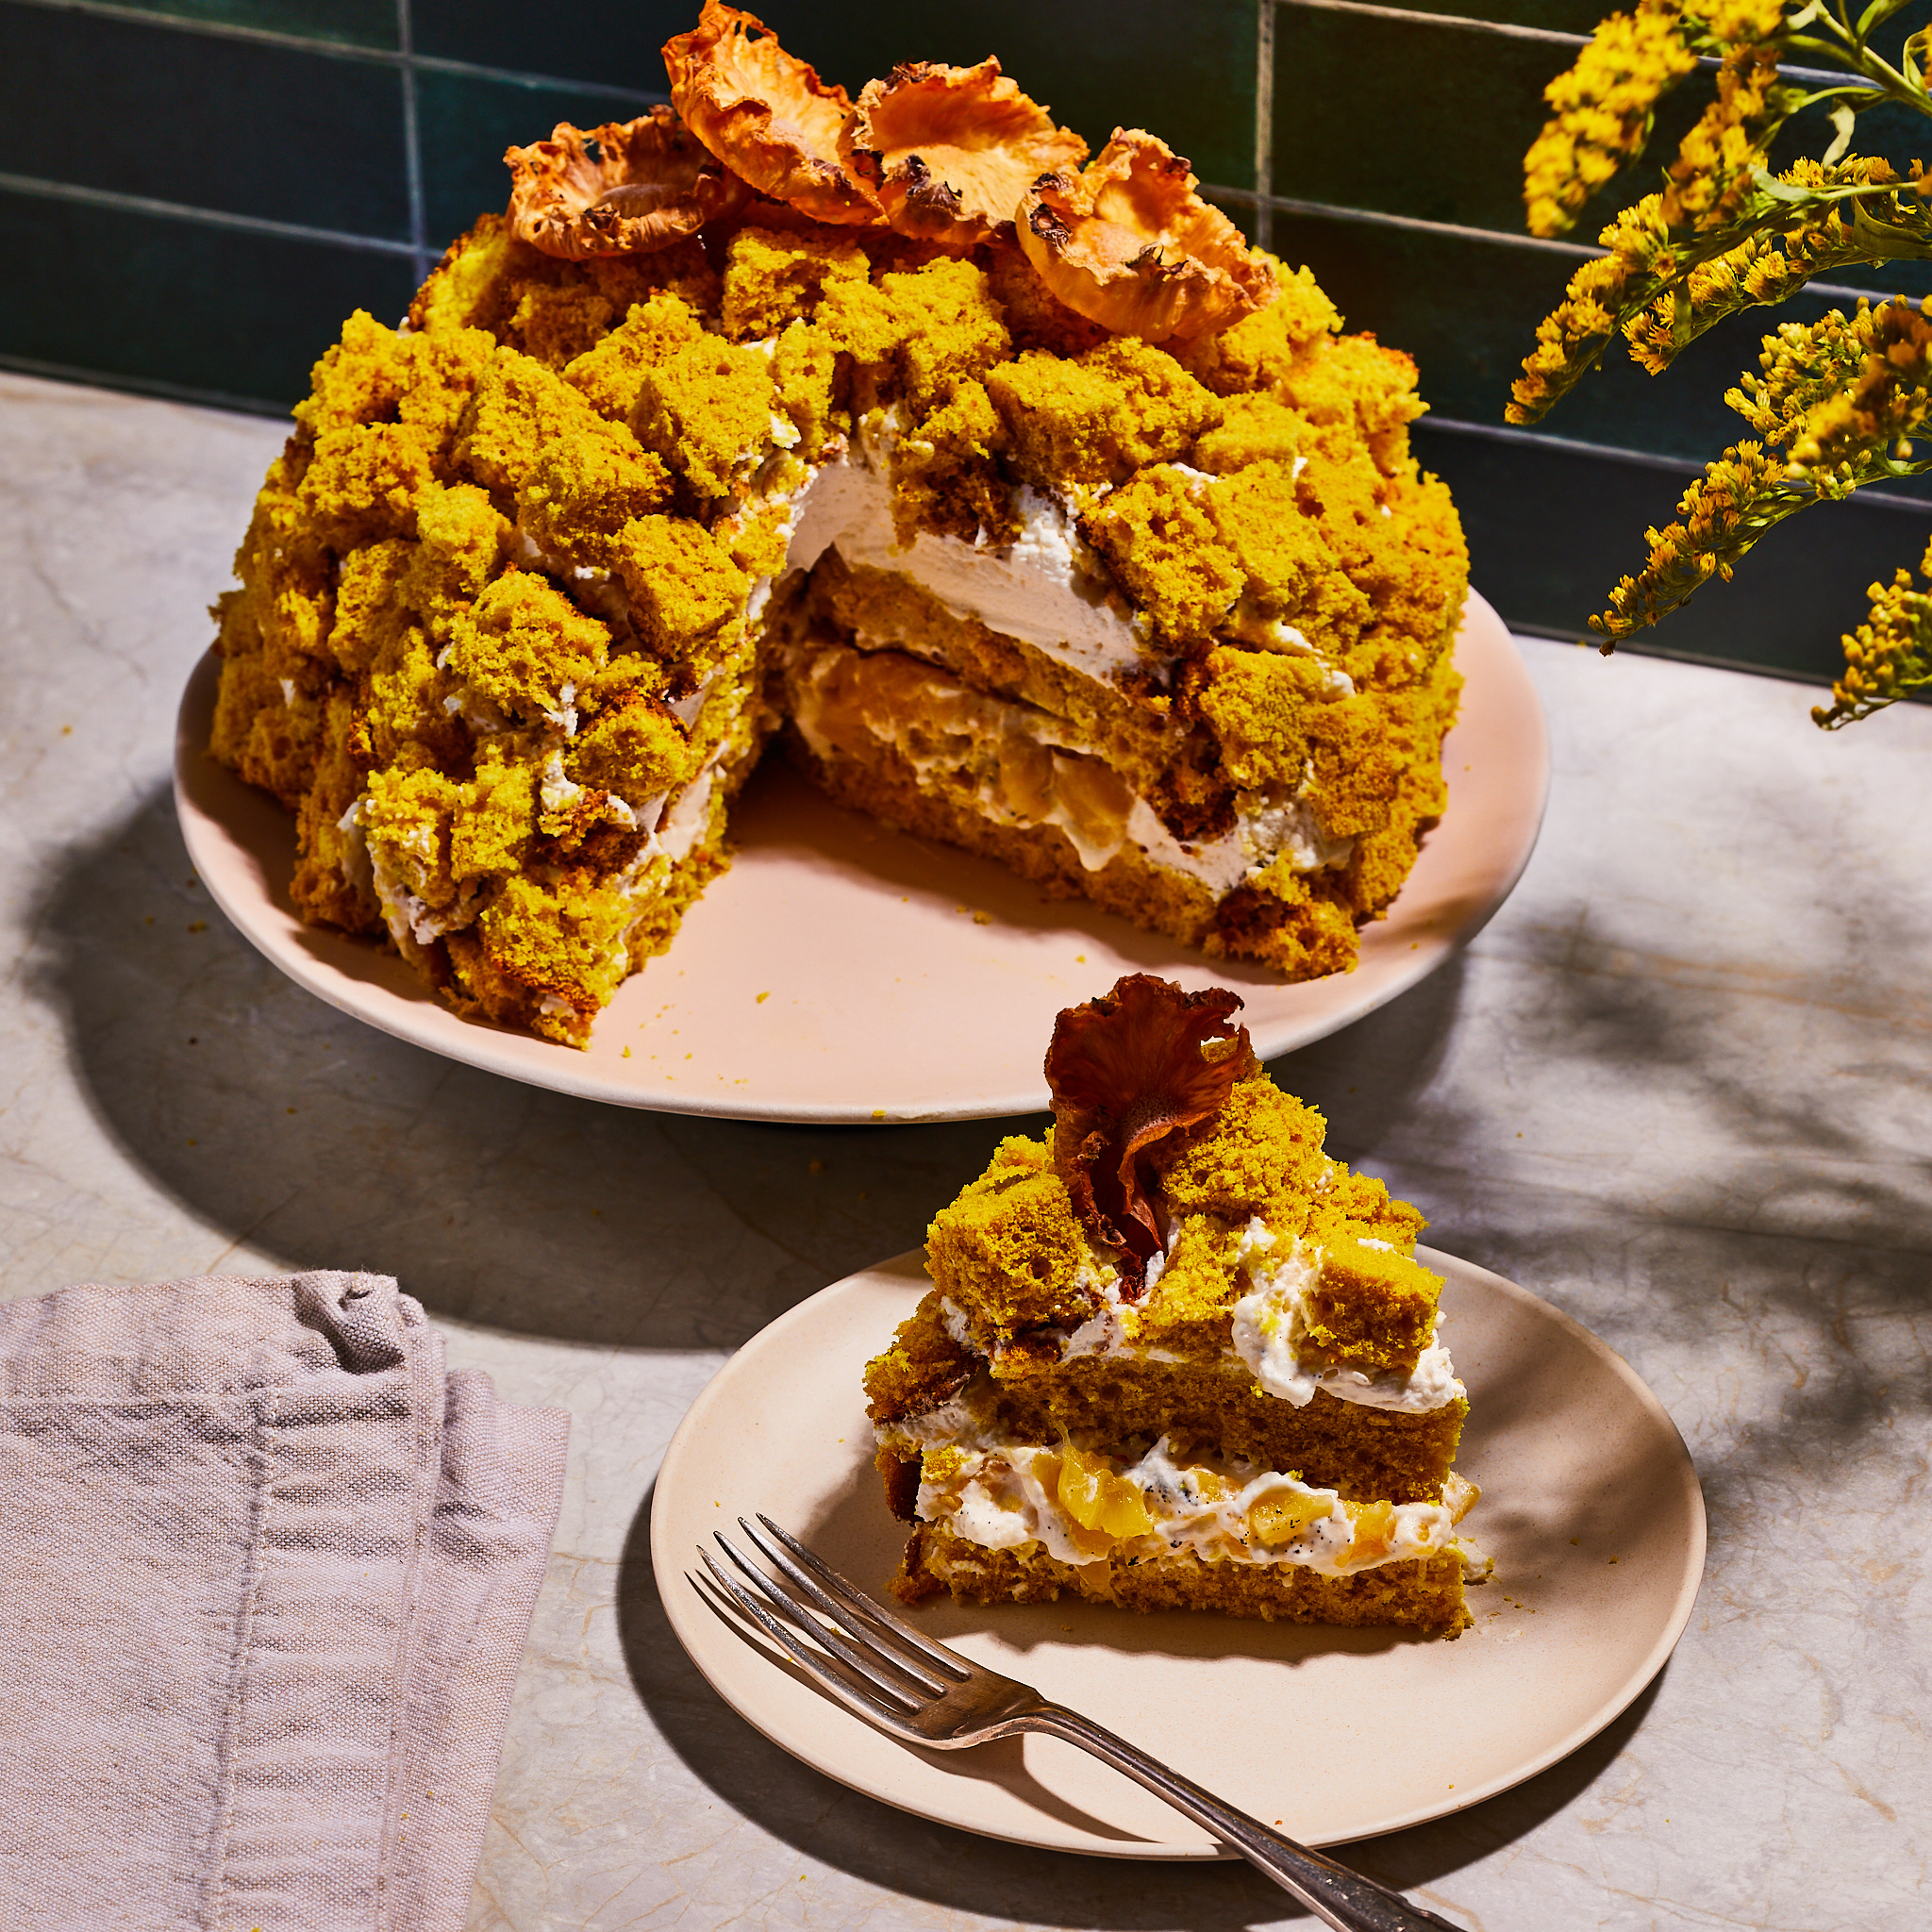
A sweeter alternative to the flowered branch is the torta mimosa, which was designed in the 1950’s to mimic the flowers’ light and delicate texture.
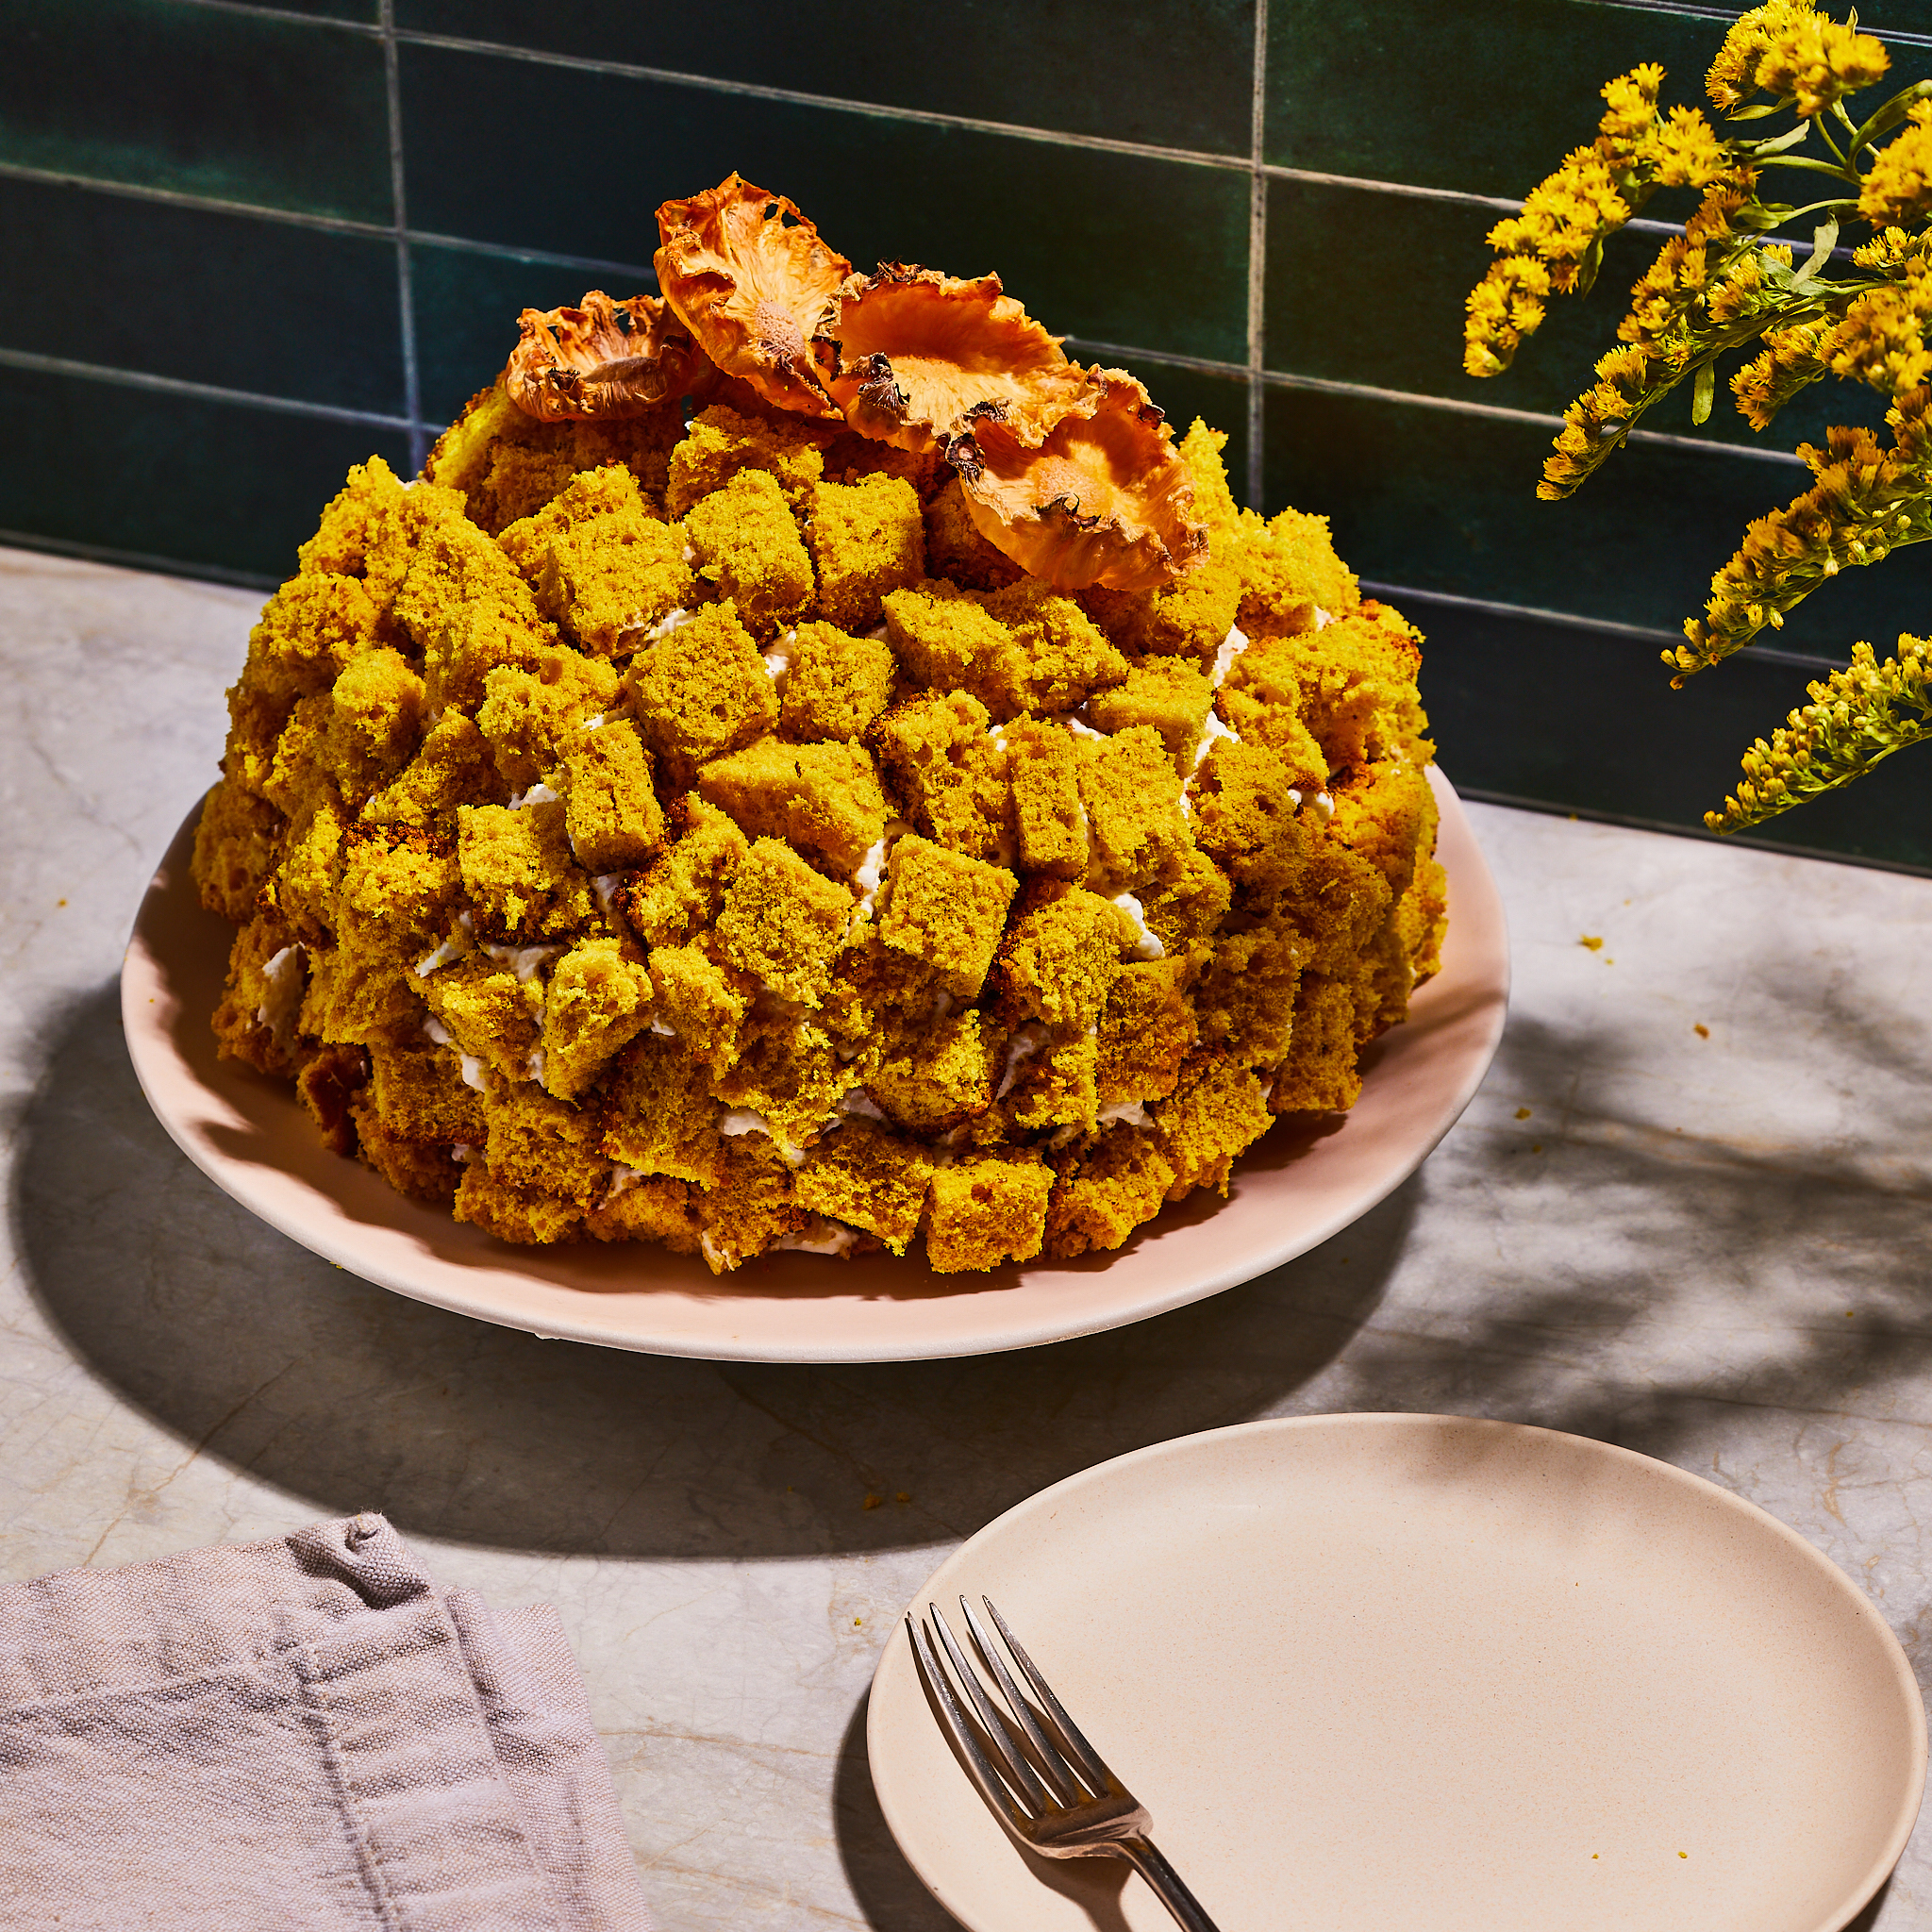
Although this cake looks highly unusual, it’s sophisticated, certainly impressive and deceptively simple to make. The unique topping looks better when it’s less than perfect, which makes decorating extremely forgiving, and fun!
 Before you start
To recreate my twist, you’ll fill your mimosa cake with a pineapple crème diplomat and soak the citrusy sponge with limoncello syrup. I also use turmeric to give the sponge a bright yellow hue, but colouring gel works just as well.
The trickiest part is perhaps making the pan di Spagna sponge, as the light airiness comes from vigorous whisking. However, following my tips, even the most inexperienced baker can give it a go.
This bake won’t need any special tools, but if you have a digital thermometer it will help control the temperature of the sponge mix over the water bath. If you don’t, just make sure the eggs are at room temperature and whisk the mixture for twice as long as I’ve recommended in the recipe.
 Ingredients (serves 20 people)
For the lemon flavoured sponge (pan di Spagna)
315g whole eggs (about 6 medium size eggs)
190g caster sugar
1.5 tsp vanilla bean paste
Zest of 1 lemon
95g soft double zero wheat flour
95g potato starch
(Optional) 1 tsp ground turmeric or 1/2 tsp of yellow colouring gel
For the pineapple crème diplomat
500g whole milk
1tsp vanilla bean paste
Zest of 1 lemon
75g egg yolks (about 4 medium size egg yolks)
125g caster sugar
50g corn flour
Small pinch of salt
350g whipping cream cold from the fridge
80g icing sugar
300g drained pineapple slices or chunks
For the limoncello syrup
300g pineapple juice drained from the tinned fruit
50g limoncello liqueur
Method
First, make the lemon flavoured sponge (pan di Spagna)
Preheat the oven to 180°C / 160°C fan / Gas Mark 4. Grease the bottom and sides of a 24cm diameter springform tin and line the base with a circle of baking paper
Heat 2 inches of water over a deep saucepan. While bringing the water to a simmer, add eggs, sugar, vanilla and lemon zest to a separate metal bowl. If you’re using turmeric or food colouring, add it to the mix at this stage.
Place the metal bowl over the gently simmering water (make sure that the bottom of the bowl does not touch the water) and, using a handheld mixer, whisk at full speed until the temperature reaches 50°C.
Once 50°C is reached, remove the bowl from the water bath and keep whisking until the mixture is cooled down to below 30°C. After 10-12 minutes of whisking, the mixture will have tripled in volume. Don’t stop whisking until it’s light, fluffy and you clearly see ribbons form on the surface of the batter when you lift your whisk (also known as the ribbon stage).
Sift one third of the dry ingredients into the egg mixture. As gently as you can, fold the mixture by hand using a silicone spatula until the flour is just incorporated. Repeat two more times until all the dry ingredients are added and no lumps remain. Don’t overmix or you might deflate the batter.
Giuseppe’s tip: Make sure you fold the mixture by scraping the spatula from the bottom of the bowl up. This is where the flour will often clump up.
Immediately pour the batter into the tin. Level off the surface with your spatula, but don’t shake or tap the tin. This is so the mixture stays as airy as possible.
Bake for 30-32 minutes in the middle of the oven until the sponge springs back when pressed gently, and a toothpick inserted in the centre of the cake comes out clean. The cake should be pulling away from the sides slightly.
Giuseppe’s tip: Want to check your cake midway? Make sure you wait until after the first 25 minutes to open the oven or the sponge might collapse.
Once baked, take the tin out of the oven and let it cool for 5 minutes. Then carefully remove the ring from the springform tin and leave it to cool for a further 5 minutes. Then turn the sponge upside down and rest it on a cooling rack. Remove the base of the tin, peel off the baking paper and let it cool completely.
If you aren’t using the sponge straight away, you can wrap it in cling film and store it in the fridge once it reaches room temperature. The sponge can also be frozen until needed and thawed in the fridge for 24 hours before assembling.
Next, make the pineapple crème diplomat
Start by making the crème pâtissière. Pour milk, vanilla paste and lemon zest in a pan and gently bring to a light simmer. Meanwhile, whisk the egg yolks and sugar in a bowl for 2 minutes or until the mixture becomes pale yellow.
Sift the corn flour and salt in the egg mixture and combine thoroughly. Then pour half of the milk in and incorporate. Once the batter is smooth, pour the rest of the milk into the egg mixture and combine, and pour the warm mixture back into the milk pan.
Continuously whisk over a low heat, until the mixture thickens, about 4 to 6 minutes. At the first sign of boiling, remove it from the heat. Let cool for 10 minutes while whisking occasionally (so it doesn’t form a skin). Then pour the crème pâtissière into a cold bowl, gently press cling film over the surface and set aside to cool down completely.
Drain the tinned pineapple for at least 30 minutes and save the juice in a separate bowl. Then dice into 8-10mm cubes. While the pineapple is draining, whip the cream and icing sugar at high speed using a handheld electric whisk, or in a stand mixer with the whisk attachment. Stop as soon as the surface of the cream loses its shine and it turns dull – it should take around 2 to 3 minutes.
Once the crème pâtissière is at room temperature, gently fold in the whipped cream one large dollop at a time. This is your crème diplomat.
Set aside two thirds of the crème diplomat. You’ll use this later to coat the cake. Then fold the diced (drained) pineapple into the remaining third of the crème diplomat. This is your cake’s filling.
Make the limoncello syrup
Measure out 300g of the drained pineapple juice and mix with the limoncello. Set aside.
Time to assemble
Slice the sponge into three even disks.
Take the middle piece, and trim off the brown edges. Then dice it into 8-10cm cubes and set these aside.
Take one of the two remaining layers and carefully trim off the brown edges, leaving as much cake behind as possible. This will be the bottom layer of your cake.
Finally, take your last layer and trim the edge, approximately half an inch around the circumference. It should be slightly smaller than the bottom layer. This will go on top of your cake.
Add a small dollop of cream to the centre of your serving plate. This will keep your bottom layer in place. Then carefully place the bottom layer (the larger of the two sponges) on the serving plate.
Using a pastry brush, soak the bottom layer of your sponge with half of the pineapple limoncello syrup. Then spoon the pineapple crème diplomat on your sponge and shape it into a rough dome. Place the top layer of sponge over the filling, and soak it with the remaining syrup.
 To decorate your cake, coat the entire exterior with the crème diplomat you set aside earlier (the one without the pineapple) and shape into a rough dome. You won’t need to smooth it down as it will be covered by the sponge cubes you prepared earlier.
Starting from the top and working your way down the sides, gently press your sponge cubes over the cake until it’s fully covered. Then decorate with dried pineapple flowers, or to keep it traditional, a small branch of mimosa flowers (note: not edible). Buon appetito!
To make my dried pineapple flowers
Peel a small fresh pineapple, and slice the flesh into 2mm thin slices (without coring the fruit).
Dry the slices out over a rack in the middle shelf of an oven at 80°C for 3 hours
Shape the slices into flowers by arranging them into the cups of a muffin tray
Let the slices dry out completely in the warm oven overnight
Buon appetito!
What is Gousto?
Dinner, but not as you know it. Our big red recipe boxes will help you whip up wholesome, impressive meals no matter your skill level, with heaps of flavour and none of the fuss.
You’ll have a choice of over 60 recipes every week, from global cuisines to healthy choices, gluten-free, plant-based and everything in between. Once you’ve placed your order, we’ll send you step-by-step recipes and all the fresh ingredients you need too. Just pick what you fancy for dinner, and leave the planning to us.


 MENU
MENU CLOSE
CLOSE